Showing posts with label bag. Show all posts

Sunday, 12 January 2014

Reversible 'Script Totes'

Hi there!

Having a great 2014 so far?
The end of 2013 was a good time for crafting and as I was sorting out 'My Secret Stash' of crafting materials, I came across small pieces of beautiful rich upholstery/curtain  fabric. As I had been wanting to replace my 'was white but now is yellow' canvas tote bag which was a great size for toting all those 'scripts' that a teacher had to mark, it seemed the perfect use for the fabric!
So that started a manic sewing spree of these reversible totes...Those of you who craft can surely identify with that urge to 'mass produce'... : )
The 'reversibility' also means that there are no exposed seams. Woohoo! 
Come to think of it, this is my first post on a non-crochet item!
If you're wondering what happened to all these bags, they're being fully utilised by those dear friends I have at the office. Glad they like them.

Have a great weekend!
Serena


Saturday, 15 December 2012

Another Granny Square!

Hi there,

My buddy Sheon & I are with our families on vacation, but we haven't forgotten to write!

I made another granny square bag -- do you like the colours on this one?


Don't you just love the OVERsized wooden buttons?
This time, the strap is in ONE continuoue piece with the sides and base of the bag.
The strap is made adjustable with these buttons on ONE side of the bag -- so it's quirky and NOT 'symmetrical'.


Double-lined as usual, with slip pocket, magnetic clasp and hand-embroidered logo.


Here's how the lining is attached -- BY HAND; WITH LOVE!
 Have a good weekend and hope you are having a great time with your loved ones.

Serena

Saturday, 8 December 2012

Granny Square Bags and Linings

Hi there,

Remember I made a granny square bag some time earlier this year? (Read about it here.)

I'm glad many of you liked it. Granny squares are beautiful and have so much potential in terms of their use...except that they tend to be 'holey'... So if you used it to make a bag, lining is of utmost importance to keep those precious things from falling out.
Added challenge : with fabric/leather bags, a single layer of lining is sufficient and you can hide all those unsightly seams between the lining and the fabric/leather. However, for a granny square, the unsightly seams will peep out of the gaps in the design!

The solution is to make DOUBLE-Layered lining, which of course, is more time-consuming. However, the result is GREAT-- NO unsightly seams can be seen anywhere, and...the lining colour shows through the gaps...giving an even more interesting dimension to the bag!

I made another bag recently and managed to remember to take pictures of the lining process. (crafters will understand what I mean when by 'getting so carried away that you realised you forgot to take pictures!)

First, let's look at the finished product:

Do you notice the cream-coloured lining peeping through the gaps of the granny square? Here's a brief run-through of how it was done:

Make TWO sets of the linings in the 'usual way' and 'sit' one in the other (rights sides facing in). [There are many wonderful ladies out there who have written excellent tutorials on how to make the 'box-shape' lining -- just do a search!]

Sew along the top edge to join them, leaving a gap for turning out.
Turn both linings through the gap. You will get something like this:
After which you stuff one back into the other (wrong sides facing):
Attach any magnetic fastening if needed and the double-layered is now ready to be attached to the bag.

More shots of the bag:
The adjustable bag that is attached by buttons which fit snugly into any of the 'holes' in the crochet strap!
This is my favourite granny square design!
Do you recognise it? YES , it's the same one used for the 1st bag in this post.
Double-layered lining which gives structure; completed with magnetic Clasp and Signature hand-embroidered logo
That's all for today. Grab this bag from the etsy shop!
 
Have a great weekend!
 
Serena 

Saturday, 11 August 2012

Like Mother, Like Daughter

Hi there,

How's your week been?
For those of us who have daughters, do you like to wear matching outfits? I know some friends who even share their wardrobe with their teenagers. Even the stars seem to like matching their outfits to their daughter's.
(picture from www.lilsugar.com)
For those of us who do not have the 'figure of the stars' to carry off the 'matching clothing', perhaps carrying matching bags might do the trick. I must admit I was thinking of myself when I designed these bags...one for mom, one for little princess. (I didn't think I would want to dress like my 'princess'.)

For Little Princess
For Mom
Mummy D, who is going to be carrying these bags with her little girl, is now expecting another princess and wanted something matching for princess number 2. I was glad to be able to make a matching pair of booties for the newborn princess. Here they are:


I'm glad mummy D likes them. Can't wait to see how all look together... : )

Till the next time,

Serena

Saturday, 3 March 2012

A Designer's Inspiration


Hi there,

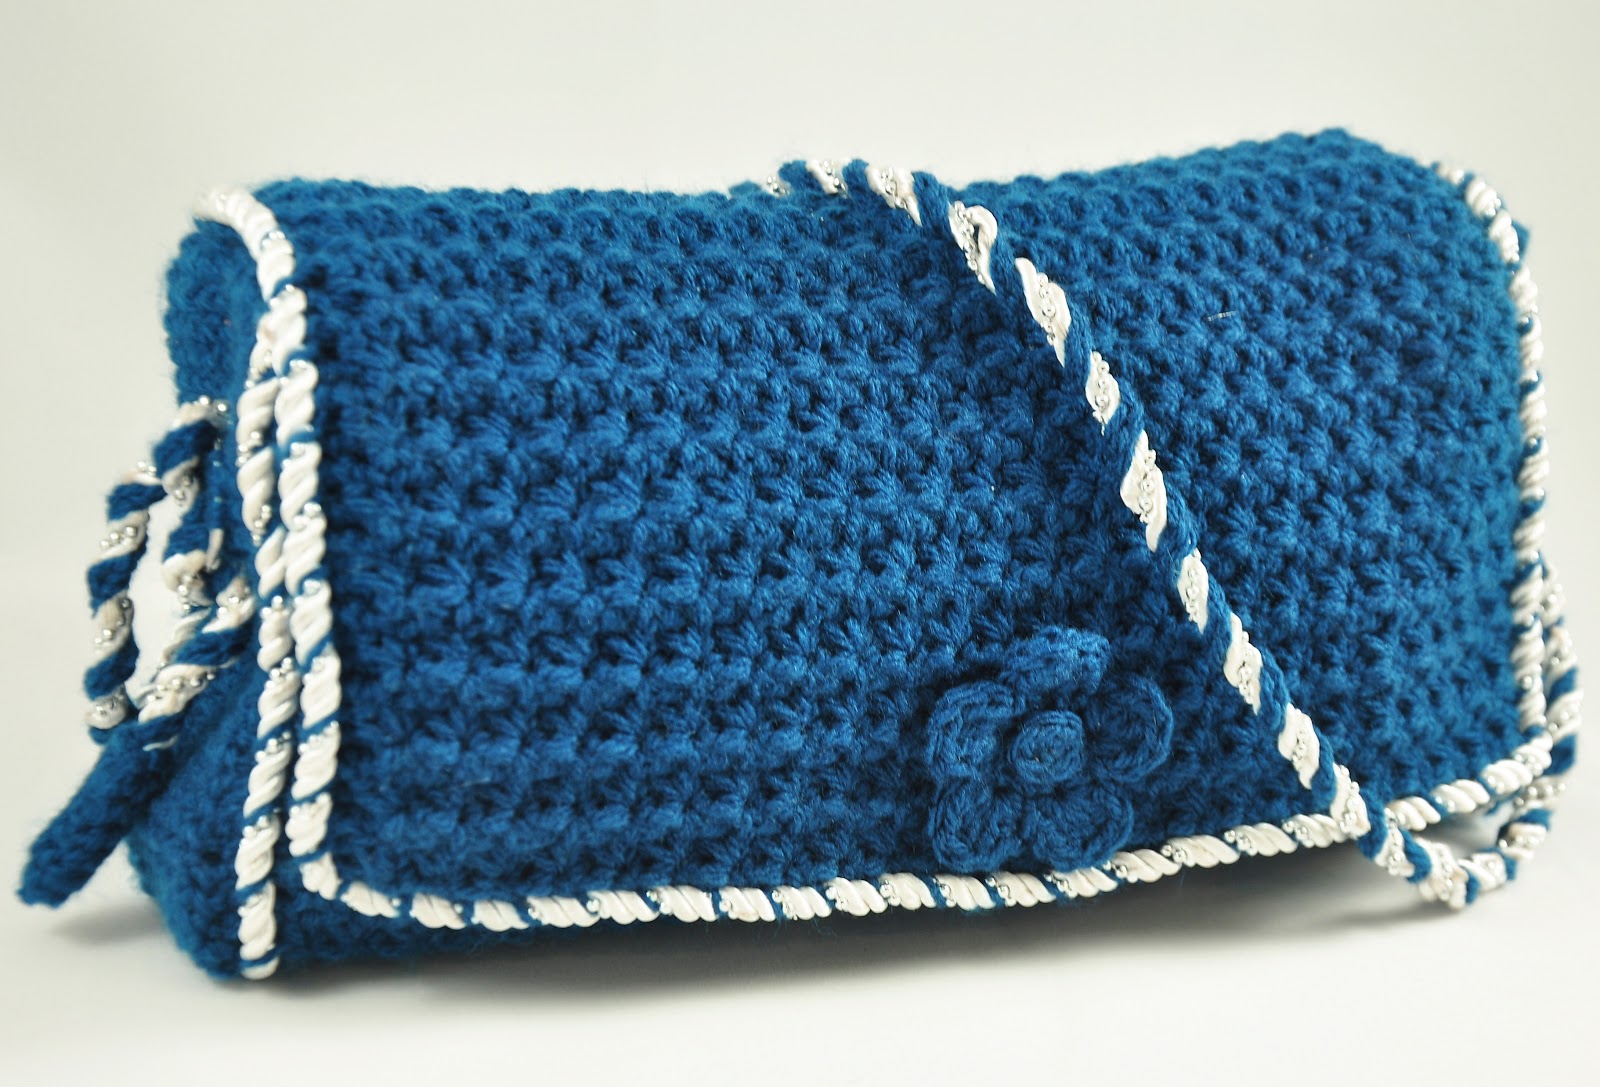
My buddy (co-blogger) Sheon celebrated her birthday this week. This was the perfect reason to crochet a bag and this is what I came up with:

The inspiration for this bag began when I set eyes on this crochet bag by Stella McCartney...I'm not sure which season it is from, but I loved its look and or course the fact that it is crocheted!
However, I wasn't too sure about how comfortably the metallic chain would sit on the shoulder and had no idea where to buy such chains of the 'will-not-rust' quality. When I saw this 'shiny' silver cord, I felt it was a good 'substitute'. Since I used a more textured stitching for the bag body, I decided to cut down on the embellishments as compared to the McCartney bag.
The cord was sewn to the bag using the same yarn and followed the 'grain' of the cord such that the blue yarn 'sat naturally' along the cord. Since the cord was a little to 'thin' as a strap, I crocheted a chain from the yarn and sewed it to the cord to 'thicken it:

As with my usual practice, I lined the bag - this time with a lovely piece of printed brocade from 'my secret stash' of fabrics. The bag also has a magnetic closure.

The biggest challenge was to create a strap which had an adjustable length but without the traditional 'slider' found on most bag straps such as:
(picture from 'Sewing with Colour')
After toying with about a gazillion ideas, I finally settled on this:
The nature of the yarn-wrapped cord enables it to wrap tightly around the silver ring and so the length can be adjusted by just 'easing' the two portions of the cord which wrap around the upper and lower  sections of the round silver ring.

Hope you've enjoyed reading about this as much as I've enjoyed making it! Have a great weekend!

Serena

Friday, 27 January 2012

A Granny Square Sling Bag

Hi there,

We celebrated another dear colleague's birthday this week... Happy Birthday W!

I made her a Sling Bag using a 'Granny Square'. This marks the completion of my project to give each of my collagues/dear friend a OOAK (one-of-a-kind) crochet bag...(You can see all the bags on our 'Private Collection' page.)

Back to Granny squares....for those who are not familiar..they are crocheted squares which are usually colourful and look something like this:

Of course, they are usually not so large and many of them are usually pieced together to form beautiful pieces of work. The amazing example shown below was created by Lucy of Attic 24.

Now to show you the rest of the bag....
I learnt how to do a 'double-layered lining' which was necessary due to the 'open' structure of the granny square. If not, the 'loose' ends of the lining material would 'stick out' of the gaps in the pattern!
Here you see the lining before it has been attached to the bag.
Here is the bag with the lining hand-stitched to it...
close-up of the strap
The strap runs in a continuous piece to form the sides and bottom of the bag.
The full view.

 I'm so happy she likes it. Do you like it?

Serena

Saturday, 14 January 2012

The Satchel-Bag

Hi there,

A dear colleague celebrated her birthday this week....Happy Birthday J! Since I hadn't made her a crochet bag yet, it was the perfect opportunity to try out a new stitch pattern and bag design...

Here is the stitch pattern which was adapted from a pattern in a Japanese crochet book borrowed from my mom's friend....(nope...I don't read Japanese...but managed to make sense of the stitch diagrams and read some of the characters which resemble Chinese....)
Here are shots of the finished product...completed just in time....unfortunately that meant taking the photos indoor at night....which doesn't do justice to it.....


close-up of the stitching....
fully lined with a slip pocket, magnetic clasp and my signature logo... : )

I wonder if I should make one and put it in the shop....what do you think?

Serena

Friday, 25 November 2011

Engineering and Crochet....


Hi there!

I've finally finished that project for my daughter...and here it is..

When I asked her what type of crochet bag she would like me to make, of ALL.... the bag types, she had to ask for a backpack...(sigh...)
And so began the engineering or construction...of a bagpack from scratch...which involves:
  • crochet the bag body, then the top flap, then the handles, then the front pocket, then the side pocket and finally the butterfly....
  • sew all the crochet pieces together
  • figure out the lining construction process and sew it all together
  • hand-sew the lining to the crochet bag (unfortunately can't use machine...)
  • not forgetting to put in the drawstring and magnetic closure etc at the appropriate juncture
Here are more pictures of the bagpack:
I put in a base so that it can 'stand' on its own...
the crocheted stretchy side pocket which
can hold a water bottle or a favourite friend...
The interior has a zip pocket, a slot pocket for cellphone and
the board-like base is encased in the same material as the slot pocket.
The drawstring and stopper are in a matching colour.
(oops..the drawstring is obscuring the magnetic closure)
close-up of the front pocket ;
made the base of a contrasting dark colour for stain-resistance
I am pleased with how it's turned out. Probably has taken me 2 weeks of labour spread across 6 months!
Would I attempt this crazy piece of 'engineering' again...? Probably not in a long long while....only for my girl...and she loves it!

Serena